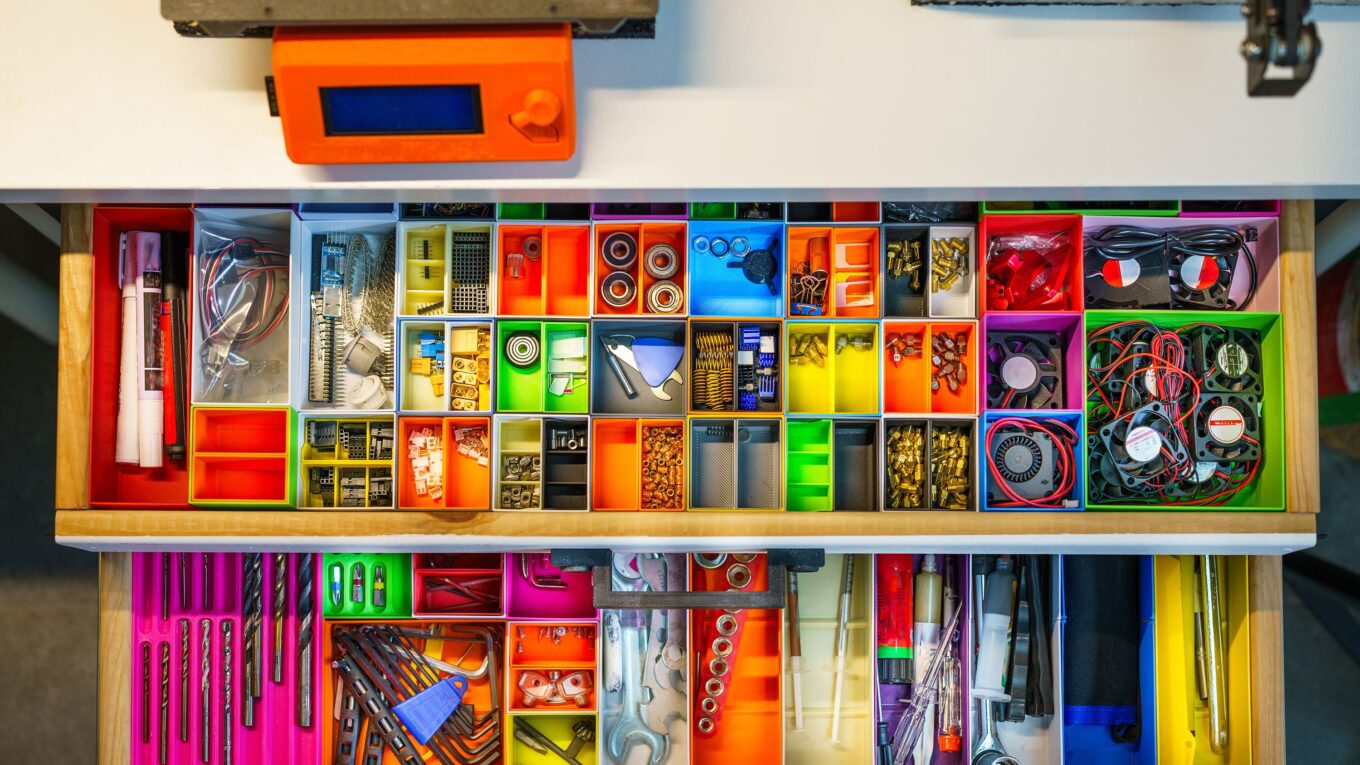
20 DIY ideas to keep everything in order
20 DIY ideas to keep everything in order, 20 DIY ideas to keep everything in order 20 DIY ideas to keep everything in order
How to make homemade organizers
Have you ever opened a drawer and found a mess of mixed-up objects? Have you spent precious minutes looking for a clip, a spice, or a brush in the middle of the clutter?
The solution to these problems may be closer than you think — and cost almost nothing. With creativity and recycled materials, you can create functional and beautiful organizers that turn chaos into order without spending a fortune on ready-made products . The “do it yourself” (DIY) movement has gained ground as a way to save money, as a therapeutic hobby, and as an expression of creativity, and organization is one of the most fertile fields for this practice .
In this guide, you’ll learn how to make homemade organizers using materials you probably already have at home — cardboard boxes, paper rolls, glass jars, fabrics, and more. Here are 20 ideas organized by room, with simple step-by-step instructions and finishing tips so your organizers look store-bought .
“I had a kitchen drawer that was pure chaos: clips, rubber bands, batteries, and spices all mixed together. When I discovered I could turn cereal boxes into custom dividers, I organized everything in one afternoon — without spending a penny.”
20 DIY ideas to keep everything in order 20 DIY ideas to keep everything in order 20 DIY ideas to keep everything in order
The essentials to get started: materials and preparation
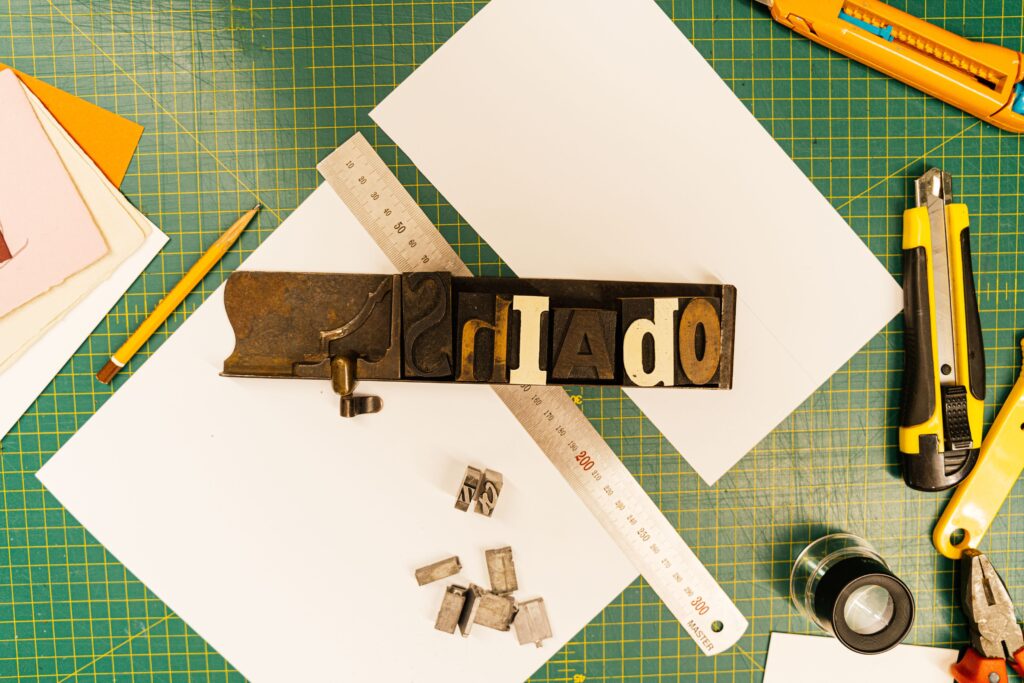
Before getting your hands dirty, it’s worth having some basic materials at home that will make your projects easier:
- Sturdy cardboard: appliance boxes, shoeboxes, or cereal boxes are the foundation of most projects
- Hot glue or extra-strong white glue: regular school glue can wrinkle cardboard; prefer blue-label glue or hot glue for better adhesion
- Scissors and craft knife: the craft knife is essential for precise cuts; use it with a metal ruler to guide the blade
- Fabric, contact paper, or wrapping paper: for covering and adding a beautiful finish
- Tape measure and ruler: to measure available space before starting
- Painter’s tape: to hold pieces while glue dries
- Clothespins: useful for holding fabric in place during gluing
Golden tip: before cutting any material, measure the space where the organizer will go. “The number one mistake beginners make is cutting boxes randomly,” experts warn. Measure the internal height of the drawer, the length of the shelf, or the diameter of the cabinet before you start .
20 DIY ideas to keep everything in order 20 DIY ideas to keep everything in order 20 DIY ideas to keep everything in order

Organizers for drawers: the end of clutter
1. Cardboard drawer dividers
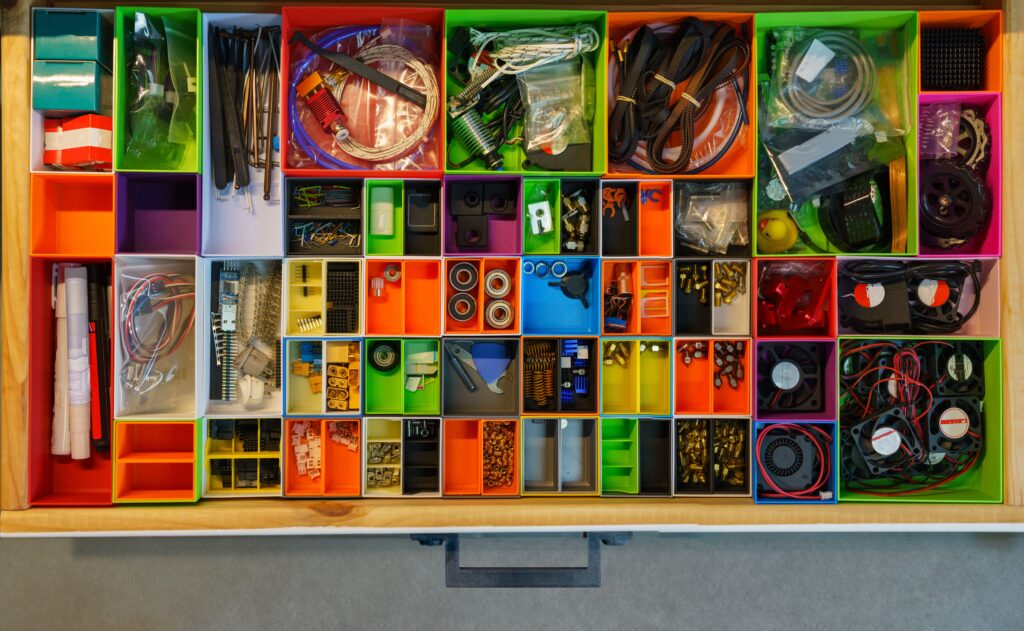
The “junk drawer” is a reality in almost every home, whether in the office, kitchen, or bedroom . With cereal boxes, you can create custom dividers that take up 100% of the drawer space with no empty spaces .
How to make:
- Measure the internal height of the drawer and define the height of the dividers (leave about 1 cm of clearance to avoid sticking)
- Place empty boxes inside the drawer and play with positions to find the best layout
- Mark and cut the boxes to the desired height
- Reinforce the structure by gluing cardboard strips to the top edge for durability
- For a professional finish, cover each piece with fabric or contact paper: apply glue, attach the fabric to the wrong side, smooth to remove bubbles, and fold the excess over
Savings: by making your own organizer, you save about $10 compared to ready-made models .
2. Shoebox dividers
Shoeboxes are the most common material for creating drawer organizers. To learn how to make quality organizer boxes, cut the fabric to the size of the box, glue it, stretching well to avoid bubbles, and finish with labels to identify the contents .
3. Sock and underwear organizer
Cereal box cardboard is the “gold of upcycling” for organizing underwear and socks. Their standardized measurements are perfect for creating dividers that separate each pair of socks or each piece of clothing . For a touch of luxury, line the inside bottom with felt or EVA .
4. Utensil organizer
The same principle applies to the utensil drawer. Create dividers that separate spoons, forks, and knives, preventing them from getting mixed up. The advantage of cardboard is that you can create compartments exactly the size of your utensils .
20 DIY ideas to keep everything in order 20 DIY ideas to keep everything in order 20 DIY ideas to keep everything in order
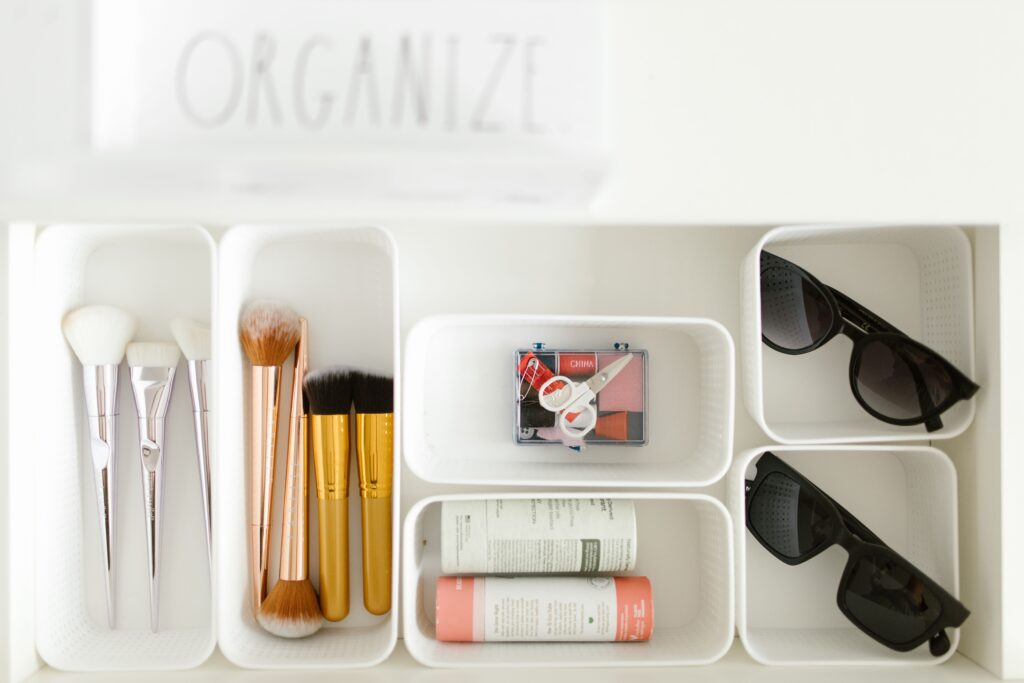
Desk organizers: everything within reach
5. Pen holder with paper rolls
Toilet paper rolls, paper towel tubes, and cereal boxes are the basis for practical and sustainable desk organizers . With a little creativity, you give new use to what would go in the trash and make your workspace prettier .
How to make:
- Select rolls of different heights to create varied niches (shorter rolls for clips, taller ones for brushes)
- Cut a sturdy cardboard base to fit the number of rolls
- Reinforce the structure with cardstock or cereal box pieces to prevent warping
- Attach the rolls to the base with hot glue
- Decorate with fabric, wrapping paper, or decorative tape
- Finish with homemade varnish (white glue diluted in water) for protection
Result: an expanded pencil holder that can accommodate pens, markers, makeup brushes, and craft tools .
6. Shower curtain ring organizer
A creative low-cost idea is to use shower curtain rings to create a desk organizer. Simply glue shower curtain rings around a wood round to create compartments for storing objects .
How to make:
- Clean the wood round with a damp cloth
- Paint or varnish as desired
- Decorate the shower rings with spray paint, jute cord, or artificial flowers
- Glue the rings around the wood round with hot glue
- Use as a catch-all for small items
Note: not ideal for very small items that could fall through the gaps .
7. Spinning organizer with wooden crates
With small wooden crates and a rotating base, you can create an organizer that keeps everything within a spin’s reach . The project costs about $14 and can be completed in under an hour .
How to make:
- Paint the small wooden crates
- Join two crates end to end with hot glue
- Assemble the crates in a square shape, creating levels
- Use a stove burner cover as a rotating base
- Fill with brushes, paints, utensils, or office supplies
“The organizer that surprised me the most was the pen holder made from toilet paper rolls. I was about to throw the rolls away, but decided to give it a try — and today it holds pencils, brushes, and even my sewing scissors, all in one place.”
20 DIY ideas to keep everything in order 20 DIY ideas to keep everything in order 20 DIY ideas to keep everything in order
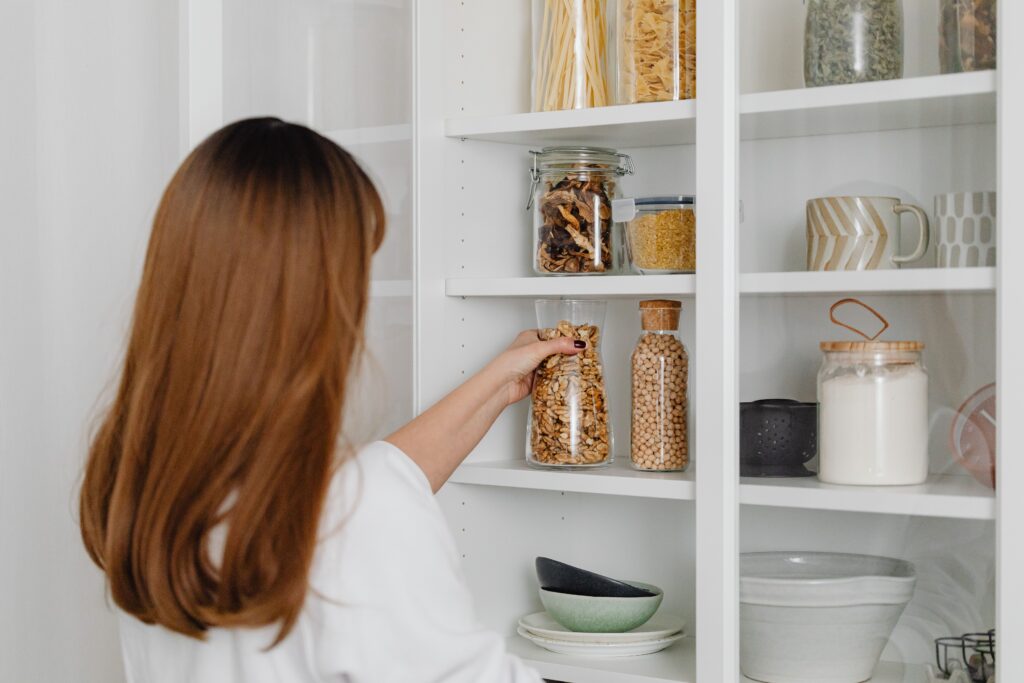
Organizers for doors and cabinets
8. Cabinet door organizer with baskets
One of the most popular hacks of 2025 was the cabinet door organizer, turning the space behind the door into usable area .
How to make:
- Purchase plastic slotted baskets and adhesive hooks
- Insert hooks through the basket slots
- Attach the hooks to the cabinet door
- Position multiple baskets vertically to create suspended shelves
Advantage: it’s removable and doesn’t damage doors, perfect for renters . Works in kitchens, bathrooms, and any room with a door .
9. Wooden spice or screw holder
A multifunctional organizer that can be used in the kitchen for spices or in the workshop for screws .
How to make:
- Cut a wooden board to the desired size
- Mark the position of the jars (for spices or screws)
- Drill holes in the lids and attach them to the board with screws
- Attach the board with the lids to the base that will be mounted on the wall
- Fix the assembly to the wall
Result: a spice rack that saves space and keeps everything organized .
20 DIY ideas to keep everything in order 20 DIY ideas to keep everything in order 20 DIY ideas to keep everything in order
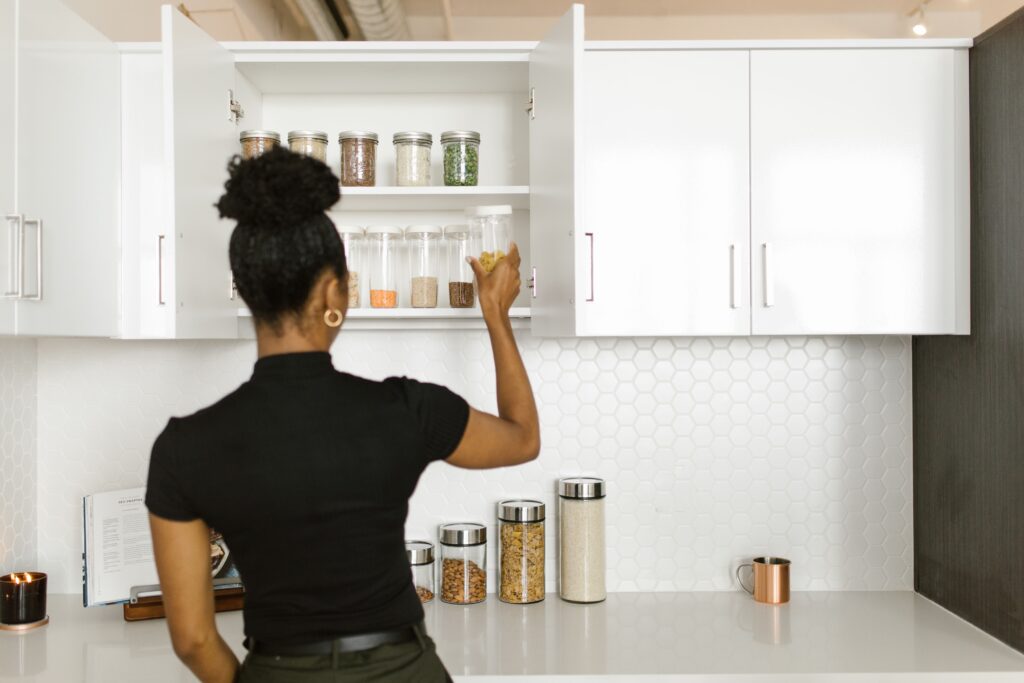
Organizers for kitchen and pantry
10. Fabric-covered cardboard organizer boxes
Cardboard organizer boxes are versatile, lightweight, and affordable, and can be customized in many ways . They help optimize the use of space in cabinets and shelves .
How to make:
- Choose a cardboard box of the desired size
- Cut a printed fabric to the size of the box
- Glue the fabric to the box, stretching well to avoid bubbles
- Finish with metal labels to identify the contents
11. Glass jar organizers
Glass jars (from preserves, jam, or palm hearts) are perfect organizers for the kitchen. Remove labels, wash well, and use to store spices, grains, or small items.
12. Paper roll holder
Use a broom handle support fixed between two cabinets to organize paper towel, aluminum foil, or plastic wrap rolls. Simple, practical, and uses vertical space.
20 DIY ideas to keep everything in order 20 DIY ideas to keep everything in order 20 DIY ideas to keep everything in order
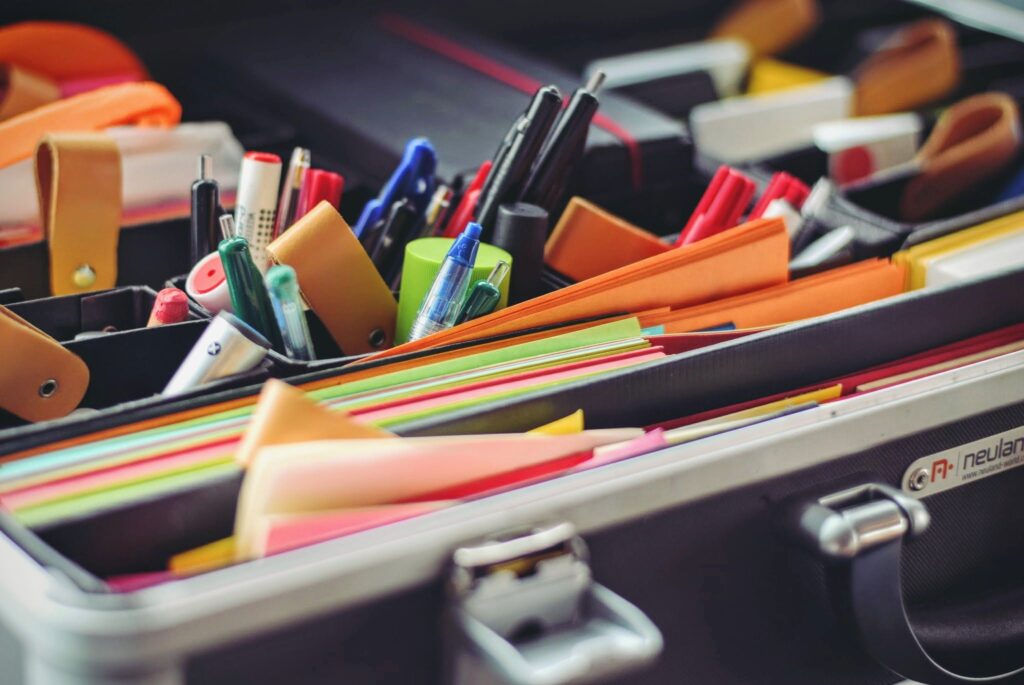
Organizers for office and stationery
13. Document holder with cardboard boxes
Sturdier cardboard boxes (like appliance boxes) can be transformed into document holders or file boxes for hanging folders .
14. Cable and wire organizer
Use toilet paper rolls to store cables and wires. Roll each cable, place it inside a roll, and label it. Store in a box or drawer.
15. Pencil holder with cans
Cans, after being cleaned and painted, become charming pencil holders. Paint with spray paint or cover with fabric.
20 DIY ideas to keep everything in order 20 DIY ideas to keep everything in order 20 DIY ideas to keep everything in order

Organizers for bedroom and bathroom
16. Decorated shoeboxes
Shoeboxes covered with fabric or contact paper are great for storing accessories, jewelry, or makeup products. Use labels to identify the contents.
17. Jewelry organizer with frame
Reuse an old picture frame. Attach chicken wire or metal mesh and hang earrings, necklaces, and rings.
18. Makeup brush holder
Use glass jars or decorated cans to store makeup brushes. Fill the bottom with glass beads or rice to keep them upright.

How to achieve a professional finish
To make your homemade organizers look store-bought, some details make all the difference:
- Use printed fabrics: create a cozy look that can match your decor
- Apply homemade varnish: a mixture of white glue diluted in water protects the surface
- Add labels: identify each compartment and give a professional touch
- Mix colors and patterns: for a modern and personalized look
- Seal for protection: if using in the kitchen or bathroom, seal the wood or cardboard to protect from moisture
Common mistakes when making homemade organizers
- Not measuring the space before starting: the organizer may not fit. Measure everything before cutting .
- Cutting cardboard in one pass: the craft knife should pass gently several times along the marked line for clean edges .
- Using regular school glue: it has too much water and can wrinkle paper. Prefer extra-strong glue or hot glue .
- Not reinforcing the structure: cereal boxes are thin. Reinforce edges with extra cardboard strips for durability .
- Not waiting for complete drying: be patient. Use painter’s tape or clothespins to hold pieces until the glue is fully dry .
20 DIY ideas to keep everything in order 20 DIY ideas to keep everything in order 20 DIY ideas to keep everything in order

Frequently asked questions about homemade organizers
What’s the best material for making homemade organizers?
Sturdy cardboard, like that from appliance boxes, is the most versatile and durable. Cereal boxes are great for drawer dividers, while shoeboxes work well for desk organizers .
How to make drawer organizers with cardboard?
Measure the drawer, cut cardboard strips to the desired height, cover with fabric or contact paper, assemble the structure, and glue in place. The result is custom dividers that take up 100% of the space .
Do I need to spend money to make homemade organizers?
Not necessarily. Most projects use recyclable materials you already have at home: cardboard boxes, paper rolls, glass jars, fabrics, and scraps .
How to decorate cardboard organizers to look nice?
Use printed fabrics, wrapping paper, decorative tape, or paint. Finish with labels and homemade varnish for a professional look .
Do cardboard organizers last a long time?
With proper structural reinforcement (double edges and firm gluing) and varnish protection, they can last for years . Avoid exposure to moisture to prevent softening.
Can I use homemade organizers in the kitchen?
Yes, but protect them with varnish or sealant to prevent moisture from damaging the cardboard or wood . For spices and utensils, it’s a practical and economical solution.